As Fourth of July draws near, I know you’re out there searching for the perfect dessert, namely the perfect flag cake to accompany your amazing barbecue. I’m here to tell you that your search is over. This is not only the perfect dish to appease your guests, it will also be a hit with the folks watching their carbs.
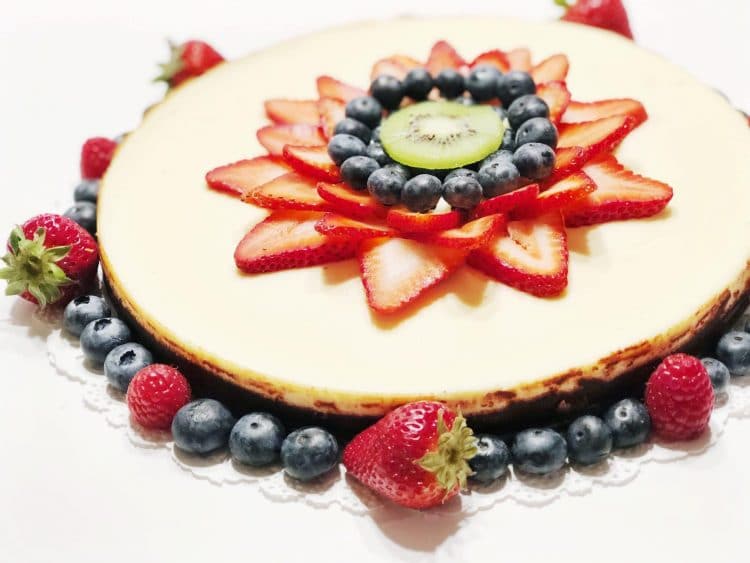
It’s my absolute goal to keto-fy as many everyday and holiday favorites so everyone (both on and off the Keto Diet) can enjoy! This Keto “Red Velvet” Brownie Cheesecake is no exception. This recipe is an adaptation of Carolyn Ketchum All Day I Dream about Food‘s Keto Brownie Cheesecake that I originally tested for my father’s birthday last year. It was such a hit than I decided to make my own iteration with the red, white, and blue in mind.
How to Make Low Carb Red Velvet Brownie Cheesecake
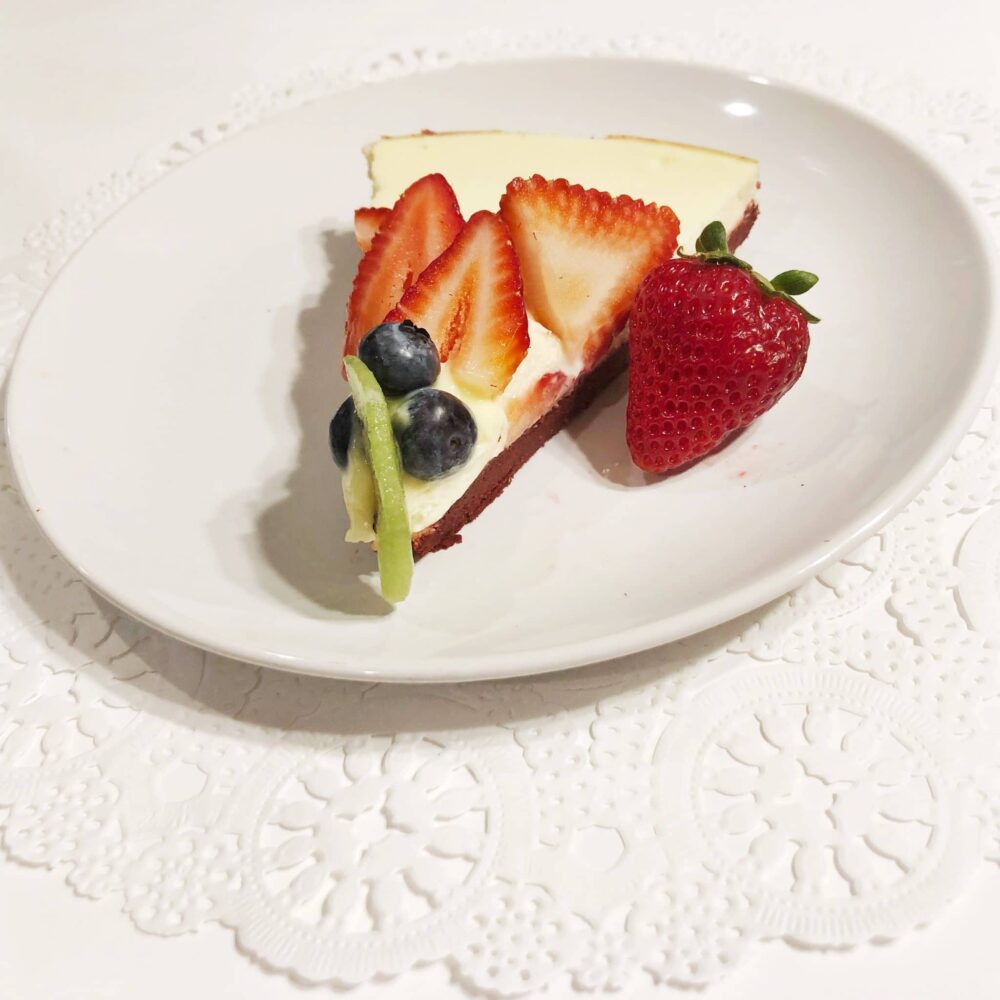
The first order of business was to figure out a way to make the crust red. Now I may be banished to lazy Keto prison for this, but I used a couple packages of Sugar Free Raspberry JELL-O packets mixed directly into the crust mixture for that patriotic look. I also used a tiny bit of food coloring to really make the red pop.
I’m a little OCD when it comes to making anything with almond flour and cocoa powder so I added in a extra step to sift each of those ingredients. I wanted to make sure the texture of the crust was extremely smooth.
Another tip when cooking a cheesecake (whether it’s Keto or not) is to put a little bowl of water in a oven safe bowl in with the cheesecake on the cookie sheet. You can also make a “water bath” for your cheesecake with the cookie sheet.
To create a water bath, just pour a little water onto the cookie sheet with your cheesecake positioned in the middle. Make sure your cookie sheet has edges! This will create a moist environment to prevent burning or cracking the cheesecake.
I have a gas oven so I used the absolute minimum time suggested for each part of the recipe instructions. Everything came out flawless. If you have an electric oven, you may need more cooking time.
I always suggest using the minimum cooking time first especially for cheesecakes. Remember your crust will be baking twice, once without the cake and once with the cake so it’s okay if it’s a little underdone on the first round.
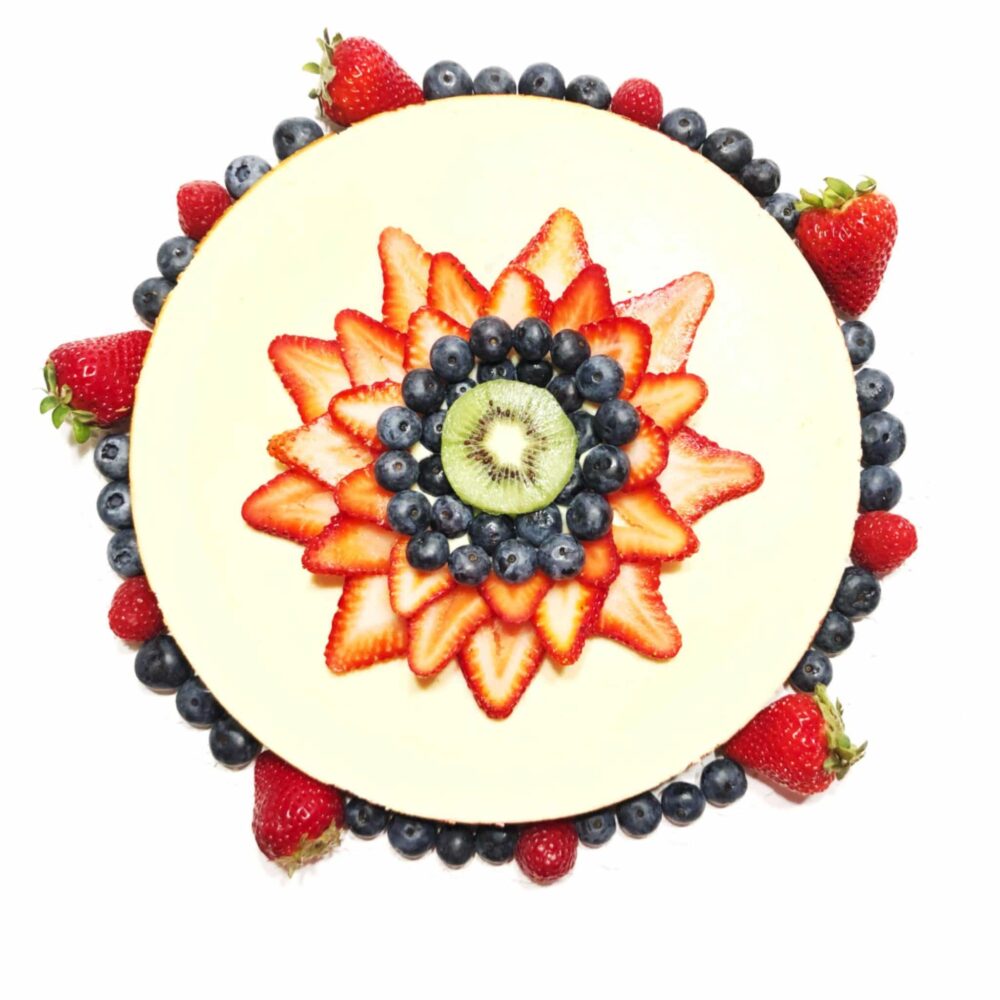
My husband did an excellent job assisting me (as I’m 8 months pregnant now!) with the design on the top. I wanted something that was simple, elegant and symmetrical. It turned out pretty great!
When you make your design, have fun with it. Switch it up with different fruits if you want. We even considered putting a star fruit on top instead of kiwi, but it’s out of season right now.
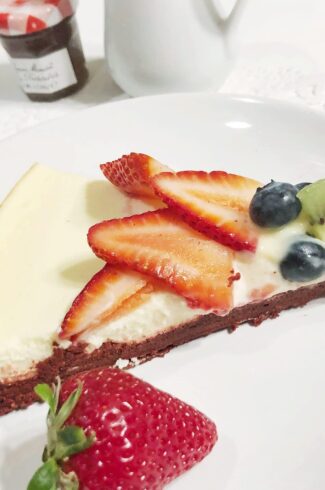
I would love to see what designs you come up with! If you test this recipe, make sure to tag me on Instagram @olivia.wyles. Of course, I love it when you pin my recipes. So check out the pin at very the bottom and save it for later on your boards!
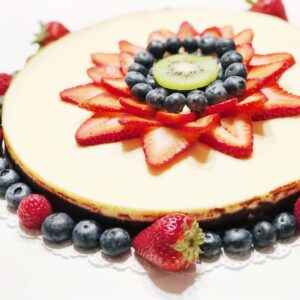
Keto Red Velvet Brownie Cheesecake
Ingredients
Brownie Base
- ½ cup butter
- 2 oz unsweetened chocolate chopped
- ½ cup almond flour
- ¼ cup cocoa powder
- pinch salt
- 2 large eggs
- ¾ cup Swerve Sweetener
- ¼ teaspoon vanilla extract
- 2 packets of Sugar Free Raspberry Gelatin
- A few drops of red food coloring
Cheesecake Filling
- 16 oz cream cheese softened
- 2 large eggs
- ½ cup Swerve Sweetener
- ¼ cup heavy cream
- ½ teaspoon vanilla extract
Instructions
- Preheat your oven to 325 degrees F and use oil or butter on your springform pan to prevent sticking. Place on a cookie sheet to prevent leaking.
- In a glass measuring cup (my preference) or microwave safe bowl, melt the butter and chocolate together in the microwave in 30 second increments. Whisk mixture until completely smooth.
- In a small bowl, mix your dry ingredients: almond flour, cocoa powder, and salt. If you prefer you can also sift your almond flour and cocoa powder beforehand for ultimate smooth perfection.
- In a large bowl, combine your wet ingredients: beat eggs, Swerve, and vanilla until smooth. Then, beat in your dry almond flour mixture. Beat in the butter/chocolate mixture you melted earlier. Add food coloring and Sugar Free Raspberry Jello packets (just the dry powder) to the mixture until you reach desired shade of red.
- Carefully spread the mixture evenly over the bottom of the prepared pan. It may take a few minutes to get it completely spread properly. Bake 12 to 18 minutes until set around edges but still soft in the center. Let cool 15 to 20 minutes.
- Reduce oven temperature to 300 degrees F.
- In a large bowl, beat cream cheese until smooth. Then beat in the rest of the cheesecake filling ingredients: eggs, Swerve, cream and vanilla until well combined.
- Pour filling over crust and place cheesecake on a large cookie sheet to prevent oil from leaking. Place a small oven safe bowl filled half-way with water on the cookie sheet next to your cheesecake to prevent cracking your cheesecake. Bake until edges are set and center just barely jiggles, 35 to 45 minutes. Remove from oven and let cool.
- Run a knife around edges to loosen and then remove sides of pan. Cover with plastic wrap and refrigerate at least 3 hours.
- Before serving, heat the bottom of the pan slightly by dipping it in some warm water. Careful not to wet your entire cheesecake. You can pour some warm water onto the cookie sheet with the cheesecake sitting on it, or fill a pot to the brim in the sink and place the cheesecake while still in the springform pan on top for a couple minutes. This will melt the butter on the bottom of the springform pan and prevent sticking. As you cut each slice, run your knife (preferable a smooth knife with no drag) through hot water and wipe clean in between cuts. Your cheesecake slices will come out flawless.
- Serve with berry fruit arrangement, sugar-free whipped cream, or sugar-free chocolate sauce if desired.


Leave a Reply