
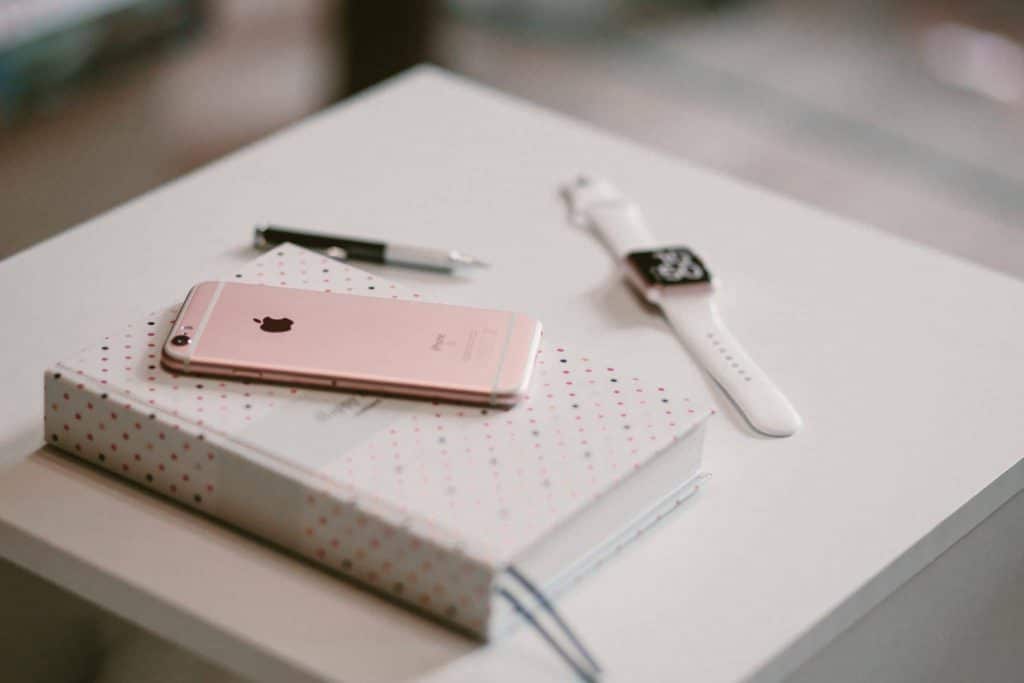
You know that oddly satisfying feeling of uncovering the fresh clingy plastic of a new iPhone? The new untouched device is ready to make all your productivity dreams come true. But...your iPhone is now cluttered with too many apps thrown every which way, bogged down with multiple home pages, and overloaded with our meme pictures and cat videos. It's a complete mess and we've become too overwhelmed to fix it. The device we bought for the sake of organizing our life has itself fallen into disarray.
Here are some quick and easy-to-stick-to steps for keeping your iPhone organized and running at peak performance for years. Trust me, I still have the same functioning iPod that I received in 2005 as a graduation gift.
Jump to:
Step 1 - Delete some apps
There are four types of apps you do not need: battery drainers, storage bloaters, spammy apps, and those apps that make you go "why did I ever download that?"
First, to find these culprits, go to your Settings > Battery. Click on the "Last 7 Days" tab to get a better idea of which apps are the real baddies. Of course, Safari, Phone, and Messages will probably be at the top of the list, but anything over 10% battery should really make you re-evaluate the necessity of that app. Remember! If you delete an app, you can always re-download it via the iTunes store. Chances are you will not miss it.
Next, while you are in Settings, go to General > iPhone Storage. Unless it's Pictures, Music, or your actual iOS, any app over 1GB is bringing you down. Ditch them!
Last, let's talk about spammy apps and apps you don't remember downloading. Ever feel so annoyed by the ads in an app? Get rid of it. There are effective free apps out there that use moderate advertising, but if it ever gets to the point of annoyance, it's best to delete it. Not only for your iPhone's sake, but for your own sanity. Also, that flashlight app...you don't need that one anymore either with the iPhone's built in flashlight. Evaluate your apps to see if Apple might have created a default app replacement built into the OS.
Step 2 - Use folders
Now that you have de-cluttered a few apps, you can start thinking of categories to organize your necessary apps into folders. Do what works best for your job, business, life, etc, but my personal phone has the following folders to keep it neat: Apple, Utilities, Business, and Social.
Step 3 - Get rid of extra home pages
You might consider this an OCD step, but you will save so much time if you consolidate all your apps into one page. Not only will you save 10 extra seconds of your life every time you're looking for your Facebook app, it will also be aesthetically pleasing. I have my productivity apps such as Calendar, Mail, and Clock lined across the top. Folders on the third line. The last 4 lines are my most used apps such as Reddit, Pandora, YouTube, and MyFitnessPal for easy access.
Step 4 - Get into a backup routine
This post may contain affiliate links.
Once a month or every time you see that little red dot on your Settings app letting you know it's time for an update, do the following routine:
Want to save this?
- Before plugging in your phone, go to your computer and open iTunes to make sure it's up-to-date. Let iTunes do its thing.
- After iTunes is all ready to go, plug in your phone and allow it to perform a backup. I'm old school so I still use my computer for regular backups opposed to iCloud due to the storage limitations.
- Off load your photos and videos onto your computer. I personally just use the default Windows 10 picture app to organize my photos. Picasa 3 is also a good app for dealing with years of photos. Make sure you check the box to delete your photos and videos from your phone once loaded onto your computer or storage device.
- Update your phone and any apps that haven't already updated automatically. Remember to back up before updating in case the update fails so you can roll back to the previous version easily with no data loss. While it is updating, don't touch it! Unless it is frozen for longer than a couple hours, just be patient and allow your phone to perform its updates.
Side note: This is not necessarily related to organizing your phone, but I feel compelled to mention this if you want to keep your iPhone running for years. Get a Lifeproof case. Don't get some cheapy plastic case (no matter how cute). Don't fuss with plastic screen covers that will inevitably get a piece of dust under it when installing it. Lifeproof is where its at for cases. I have used one for all my phones because I know I will eventually drop it in the parking lot or throw it across the room accidentally. I love the FRĒ series because of its virtually invisible scratch protector and they come in super cute colors too.
Step 5 - Restart your phone once a week
This is a controversial subject so I'll leave this one to your discretion. Personally, I restart my phone at least once a week or once every couple weeks to refresh my phone. It seems to improve performance and reduce technical errors with apps.
Step 6 - Turn off Background App Refresh

When apps are not in use, they are suspended and they will not use up your battery life and data. The exception to this rule is if Background App Refresh is turned on for those apps. To check if this is turned on for a particular app, go to Settings > General > Background App Refresh. I recommend turning this feature off for most apps with the exception being apps like Life360 that need to keep your location accurate.
Step 7 - Keep Notifications Squashed
It's worth taking a few minutes to check your notification settings to make sure they don't cause information overload. I absolutely cannot stand to see a red dot on an app icon. It's just screaming out to me "take care of this!" To make modifications, go to Settings > Notifications. Keep your notifications off unless it's your most important apps like Mail, Calendar, and Messages. It will help your sanity and make you feel super productive to handle your few notifications as opposed to being so overwhelmed that you can't handle any of it.
Note: If your iPhone is older than a 6, I recommend getting a new one. I only replace my iPhone when it's completely necessary simply because the features are better and the phone seems to run smoother with the newer iOS updates. Personally, I just got a new iPhone 8 Plus and I love it.
Now that your phone is organized, let's take a look at that Inbox with my email guide!